· Jason Louro
How to make a 2D game without coding
A beginner's guide to making a 2D top-down game with no programming, from picking the idea to exporting a build your friends can play.
You can make a 2D game without writing code by using a no-code game maker. These tools replace programming with forms, visual rules or plain-English requests. The steps are the same in every tool: pick a small idea, build the core loop, test constantly, then add content.
This guide uses a top-down game as the example, because it's the friendliest kind to start with.
Why start with a top-down game
In a top-down game you look down at the player from above, like the early Zelda and Pokémon games or Stardew Valley. It's a good first game for three reasons:
- Movement is simple. No jump physics to tune, which is the hardest thing to get right in a platformer.
- Everything is on one screen. Creatures, items and buildings are easy to place and easy to read.
- It fits many genres. Survival, farming, RPGs, dungeon crawlers and creature collectors all work top-down.
Your options for making a game without code
| Tool type | Examples | What you still have to do |
|---|---|---|
| Visual event editors | GDevelop, Construct | Learn the editor's logic system; bring your own art |
| Genre-specific makers | RPG Maker | Work within the genre; use the included art or bring your own |
| AI-assisted makers | Chunkyard | Decide what you want and approve each piece |
None of these are wrong. They suit different people. I wrote a fuller comparison if you're choosing.
Step 1: Write your game in one sentence
"You run a small farm, and at night slimes come out of the forest." That sentence tells you what to build first (a farm, a night cycle, slimes) and what to leave for later.
Avoid anything with "epic", "huge" or "hundreds of" in it. You can grow the game once the small version works.
Step 2: Build the core loop first
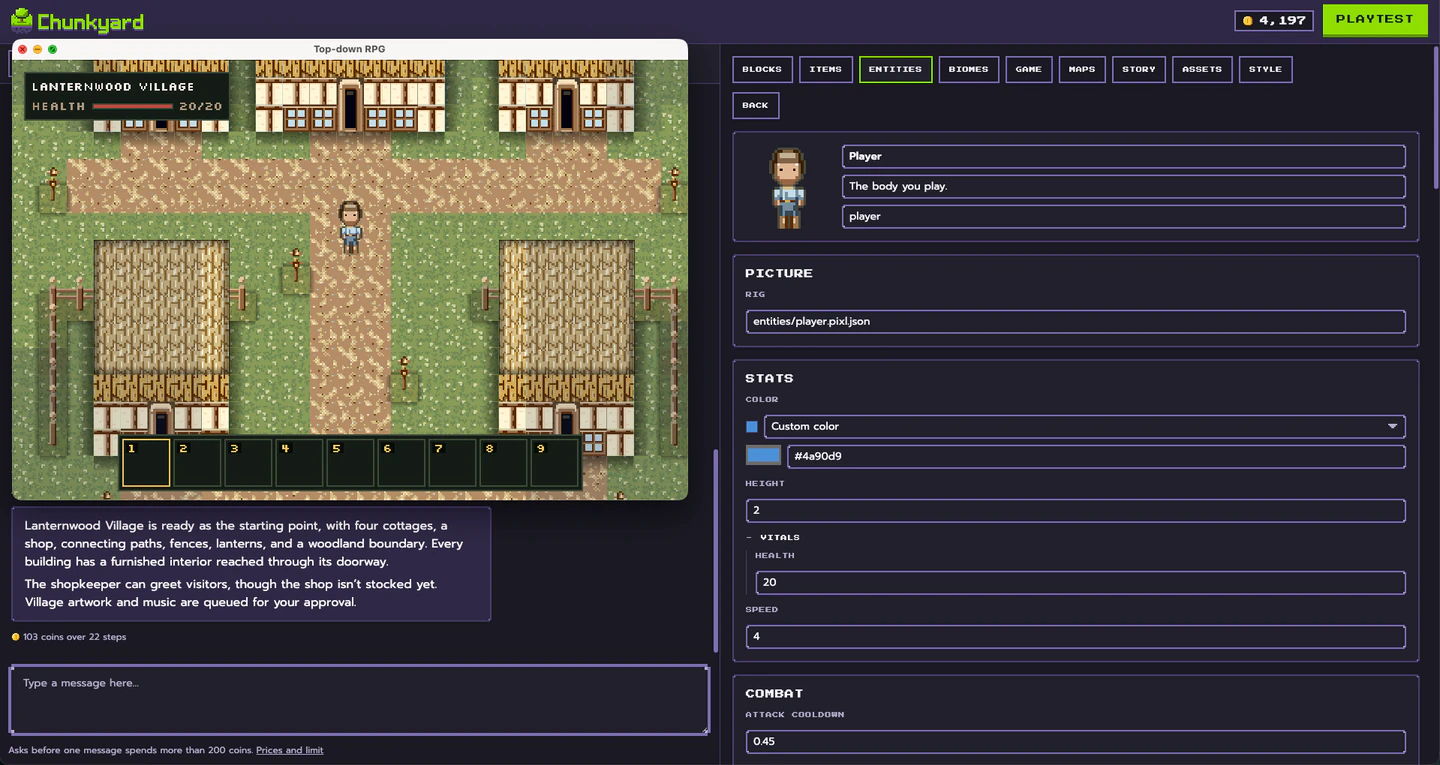
The core loop is what the player does over and over. On a farm it's plant, wait, harvest, sell. Build only that, with placeholder art if you need to, and make sure it's fun to repeat.
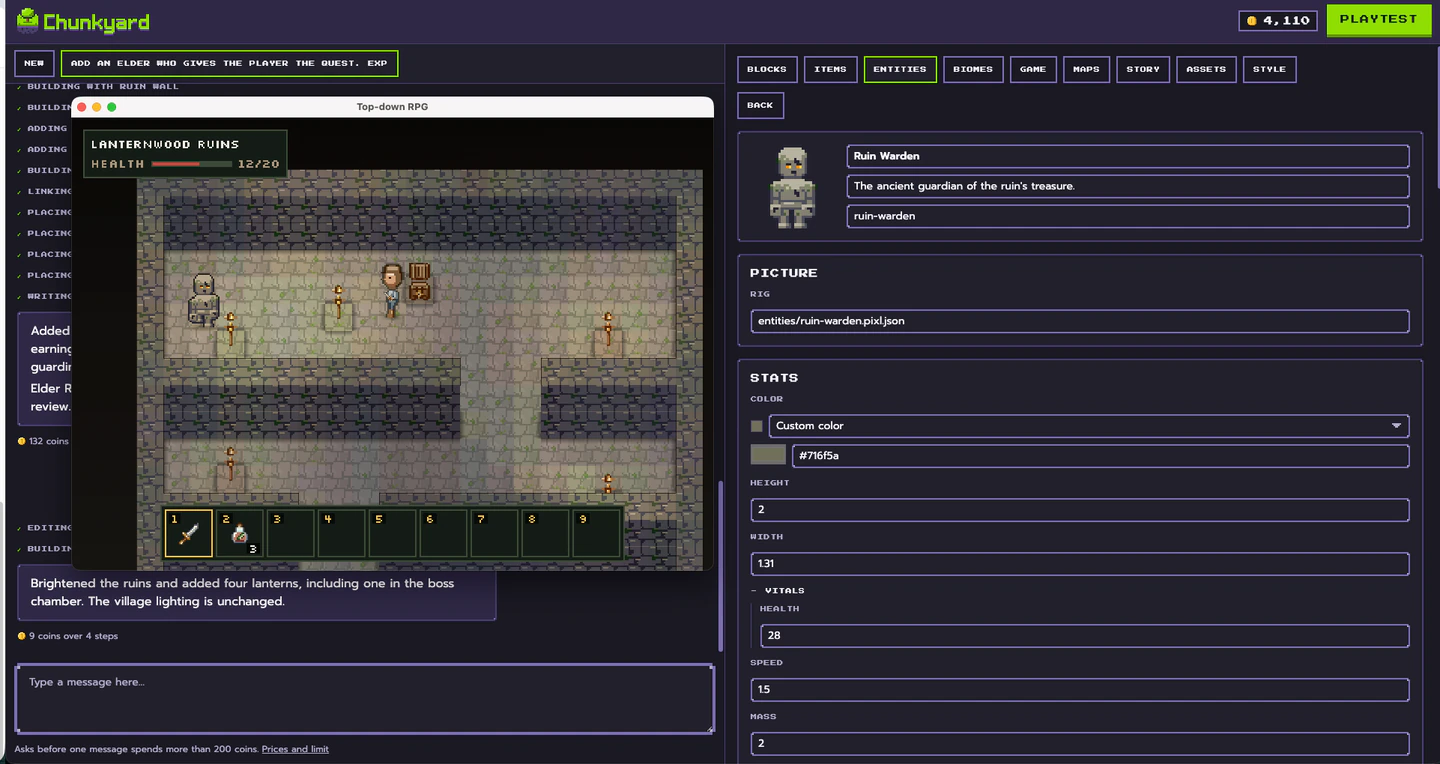
The example below shows the first version of a game loop, built in about 10 minutes using Chunkyard.
Step 3: Playtest after every change
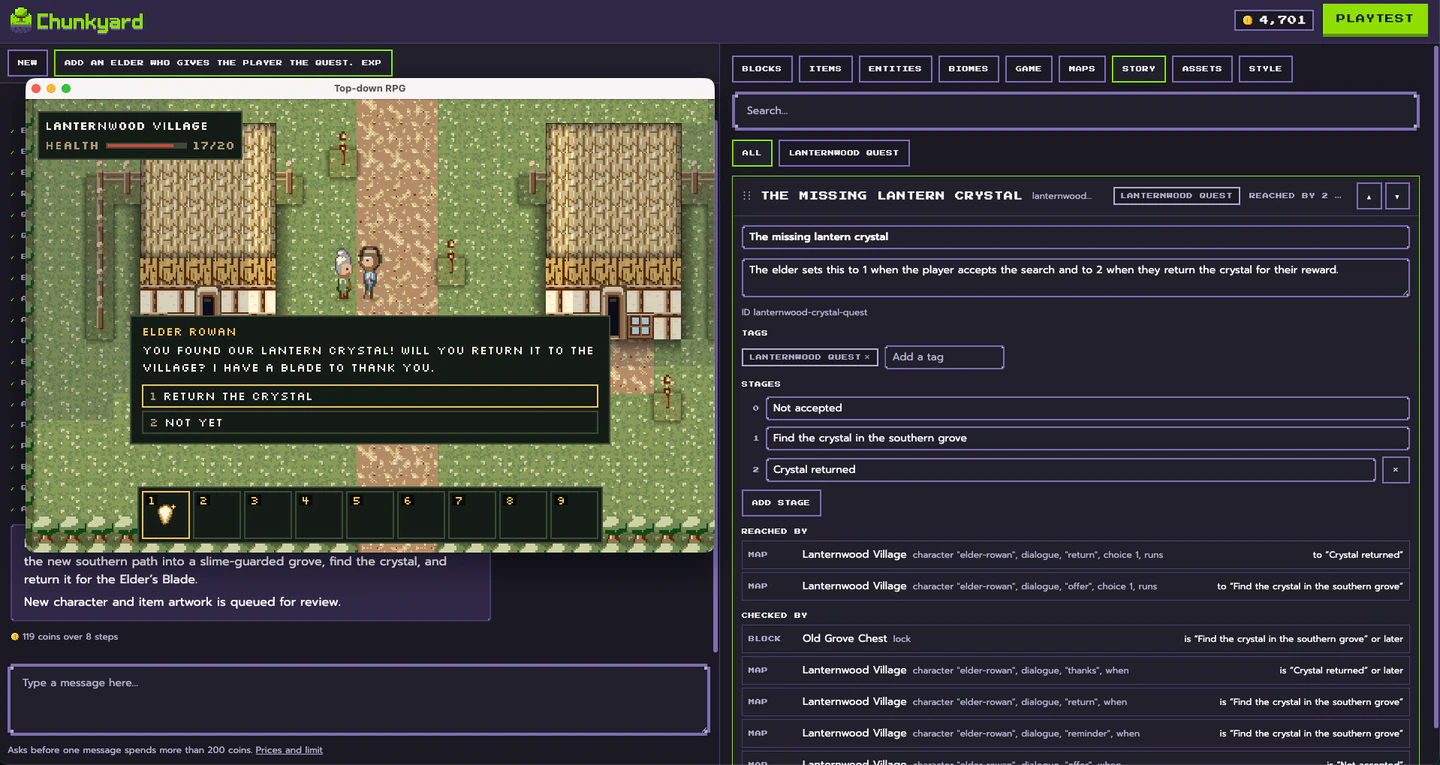
This is the habit that matters most. Add one thing, play for a minute, then decide what's next. If you add ten things before playing, you won't know which one broke the game.
Step 4: Add content in small pieces
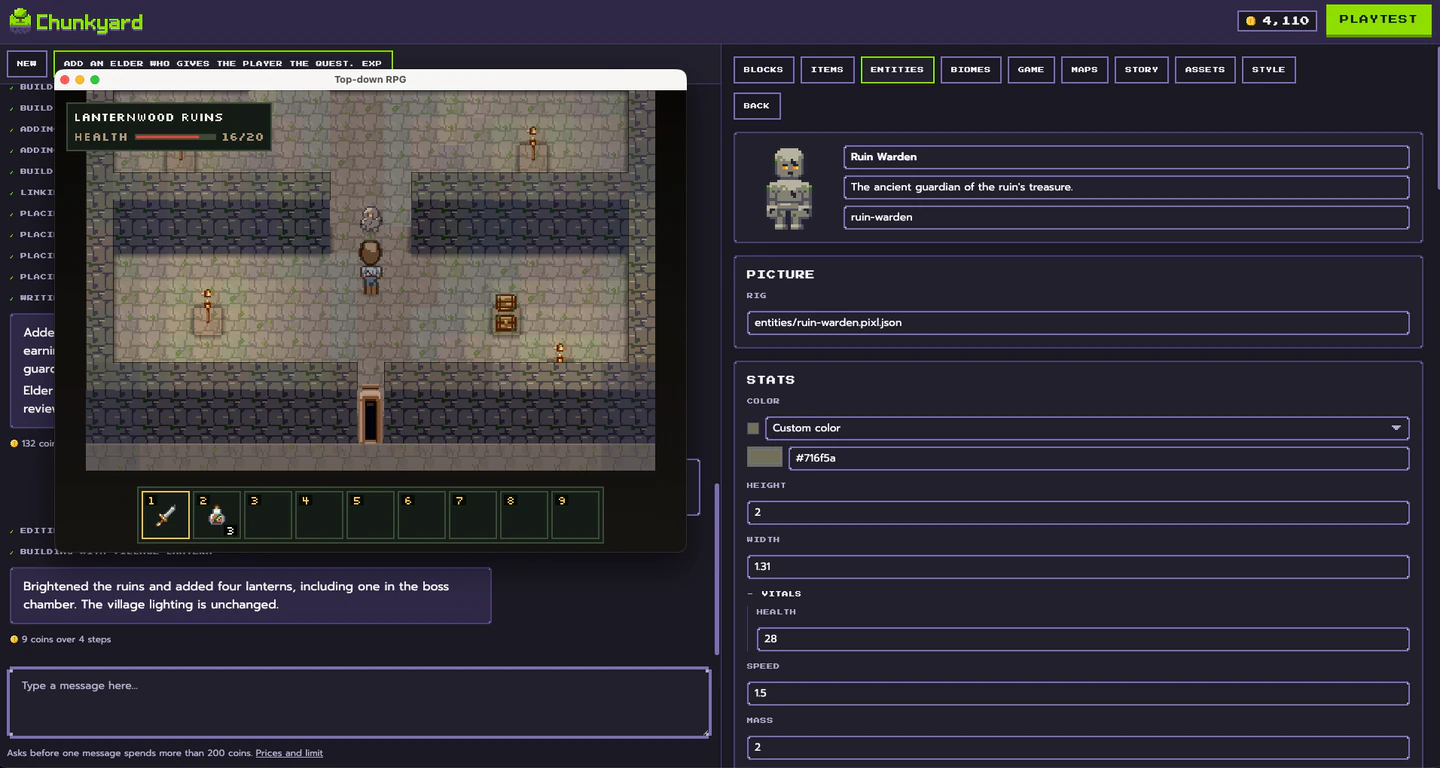
Once the loop works, add variety: a second crop, a tool that waters faster, a slime that's tougher than the others. Each piece is a small, testable step.
Step 5: Give the player a goal
A goal turns a toy into a game. Pay off the farm. Open the locked cave. Beat the slime king. One clear goal is enough for a first game.
Step 6: Export and share
Export a build and give it to two or three friends. Watch them play without explaining anything. Where they get confused is your to-do list.
How this looks in Chunkyard
In Chunkyard, each step above is a request and a check. You might ask for "a slime that only comes out at night and drops goo." Chunkyard draws the sprite in your game's pixel art style and sets up the behavior. You approve the art, hit Playtest, and if the slime's too fast, lower its speed in its form.
The engine already handles the systems a top-down game needs: day and night, seasons, biomes, water and lava, farming and breeding, crafting, combat, dialogue, saves, music and lighting. When it's done, export it for Windows, macOS, Linux or the web. Chunkyard runs on Windows, macOS and Linux, and your game lives as plain files in its own folder, so nothing is locked in.
If art is what's stopping you, see how to make a pixel art game when you can't draw. For genre walkthroughs, start with a farming game, a top-down RPG or a survival game.